A DIY Wooden Wall with TV Mount
My recent DIY work is to build a wooden wall for an entertainment room

Hi, it’s Takuya here. My recent DIY work is to build a wooden wall for an entertainment room. I didn’t want to put a TV stand because it takes a lot of space in the small room and I don’t have anything to put in like game consoles, DVD players, etc. Besides, it just sounds fun. As I was watching a lot of DIY videos on YouTube, I was very interested in building a wooden wall for myself. Let’s get right into it.
Materials
- 2x4 SPF Woods: 7,428 JPY (≒67 USD)
- Scaffold Boards: 19,330 JPY (≒173 USD)
- TV Mount: 12,280 JPY (≒110 USD)
- Dia Wall: 2,952 JPY (≒26 USD)
- Briwax: 3,240 JPY (≒29 USD)
The total cost was 45,230 JPY (≒405 USD).
Here is a clean start photo:
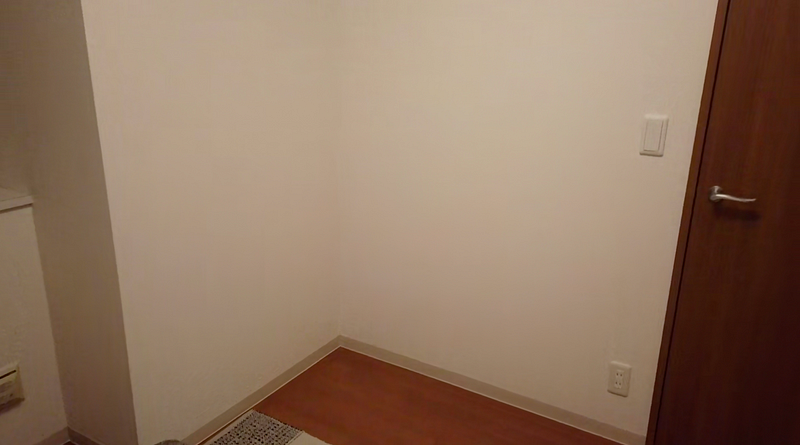
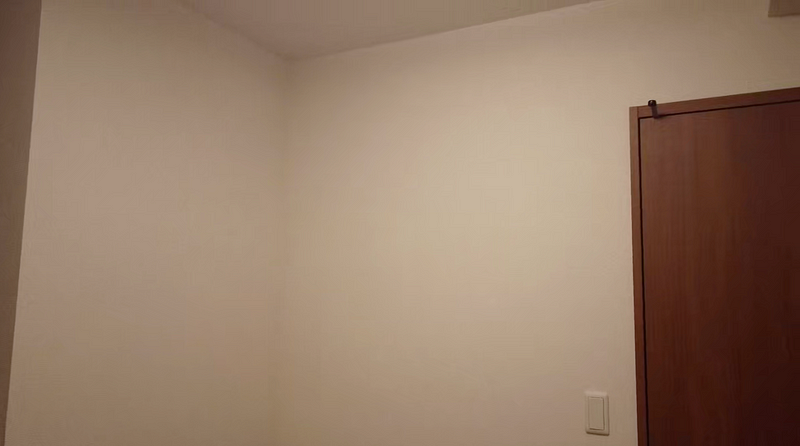
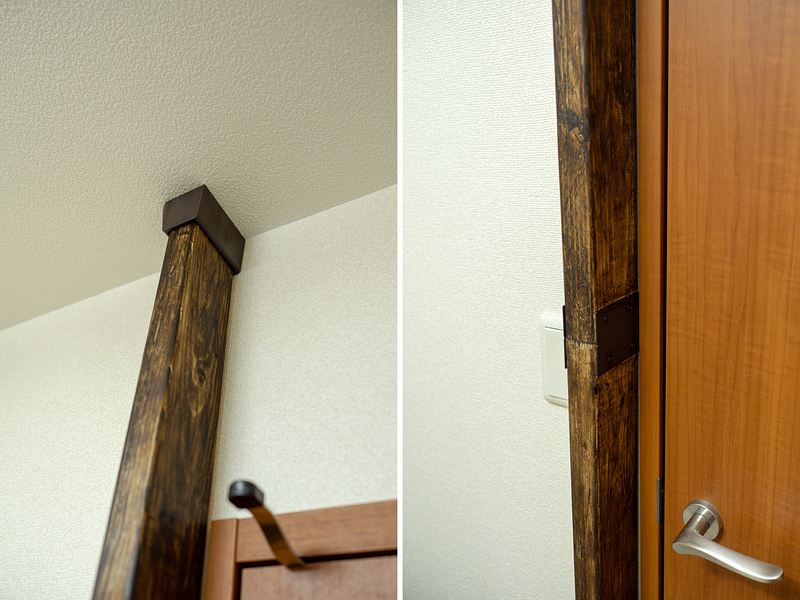
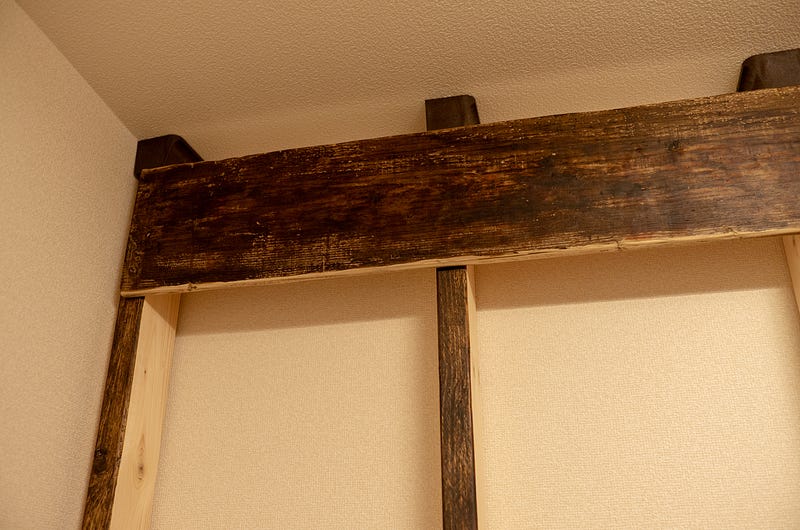
Since it’s a rental apartment, making holes and paintings on the walls are basically prohibited. So I decided to buy parts called ‘DiaWall’ by Wakai that allow you to create pillars without making any damage on the walls. Here is what it looks like:
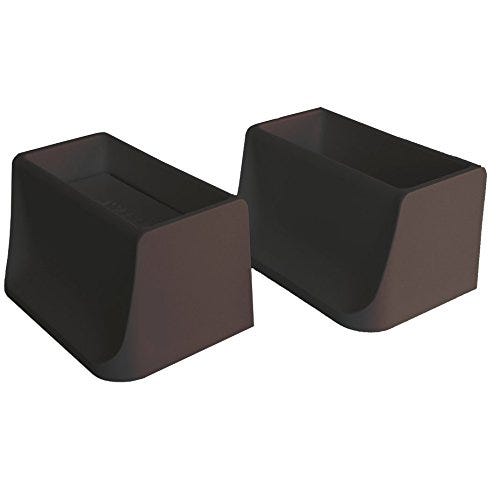
I will use it in the later step.
Stain Wood with Briwax
I bought some 2x4 SPF woods to create pillars with DiaWall.
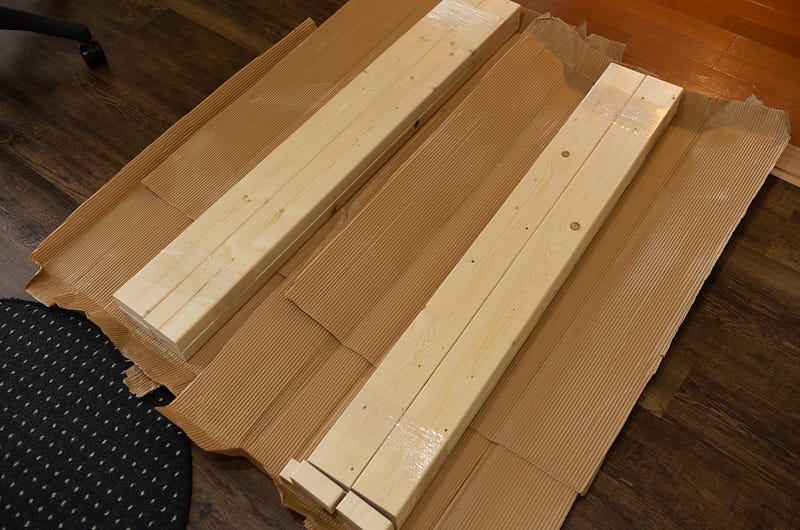
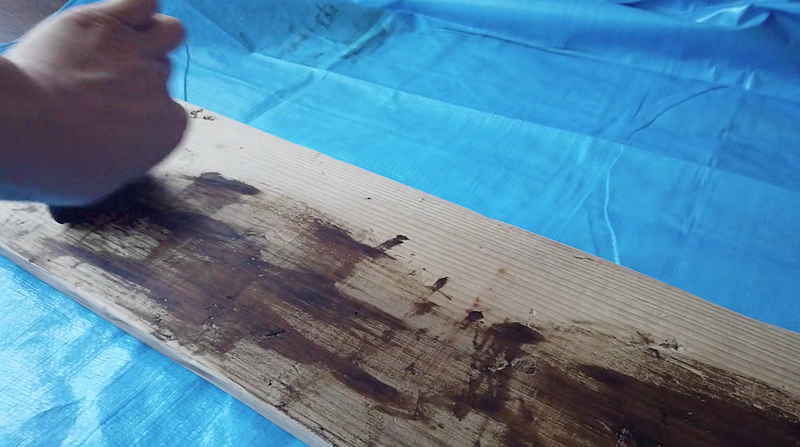
I stained them with Briwax (Jacobean). I like it because it leaves a beautiful touchable luster that enhances the natural character of the wood. But it has a strong smell, so you must open a window while applying the wax. Note that it is not suitable for wet areas.
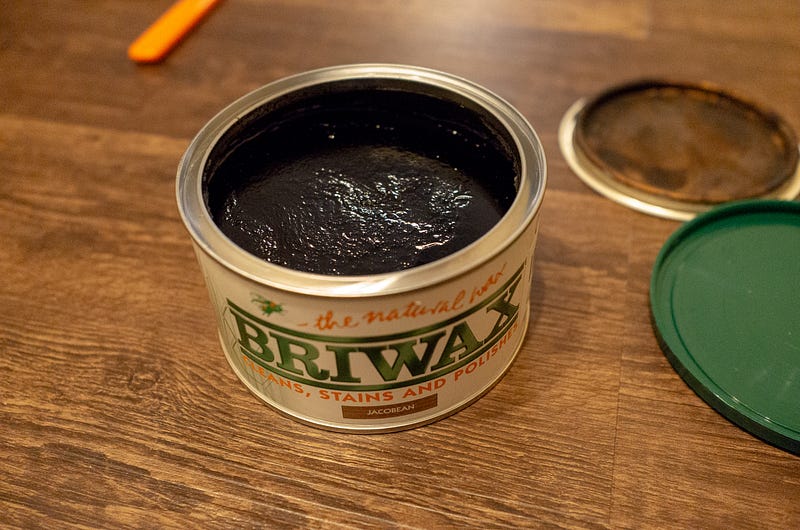
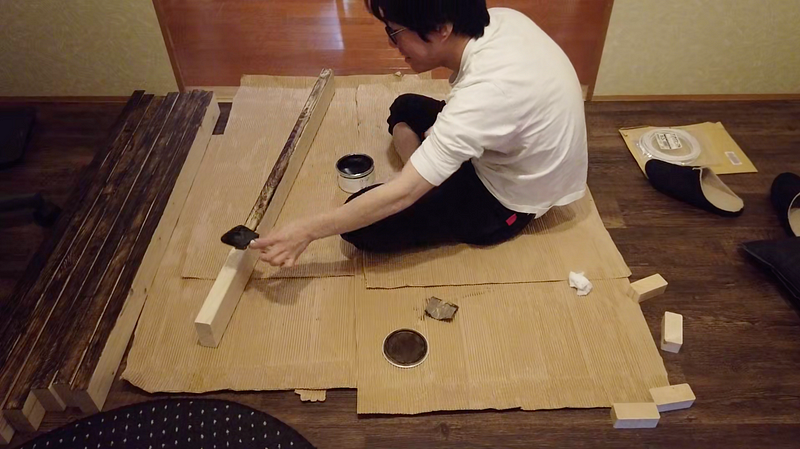
Let them dry for 10–15 minutes.
Create Pillars with DiaWall
After that, I joined pairs of woods together like so:
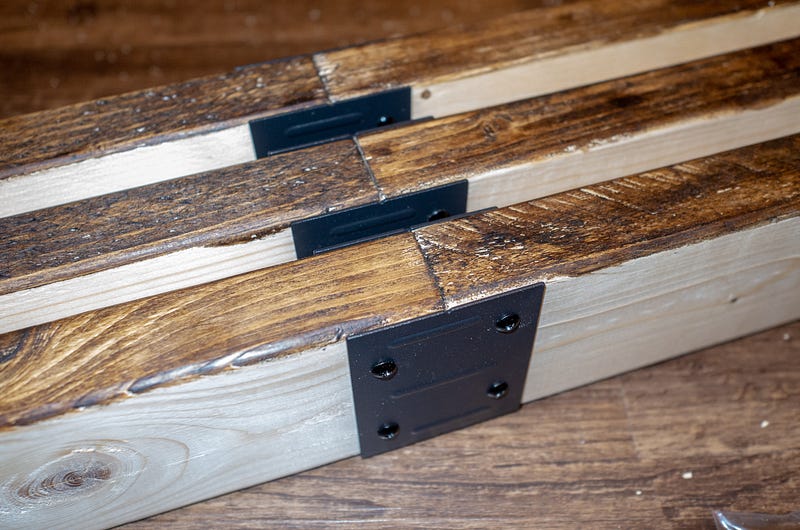
Why I didn’t buy woods with enough length is that I don’t have a car and the shipping fee will be very expensive. Getting attachments and use them is a cheaper option. Now, let’s put them to the wall.
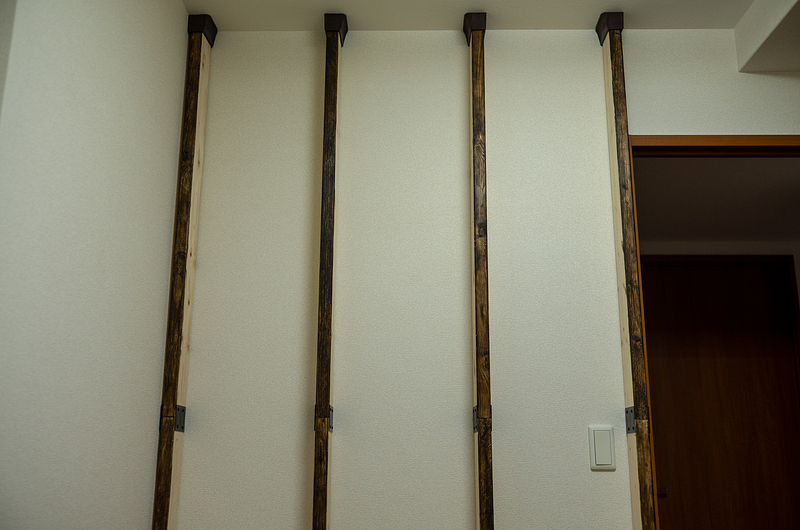
It looks like the strength is sufficient to support TV weight.
Mount the TV on the Pillars
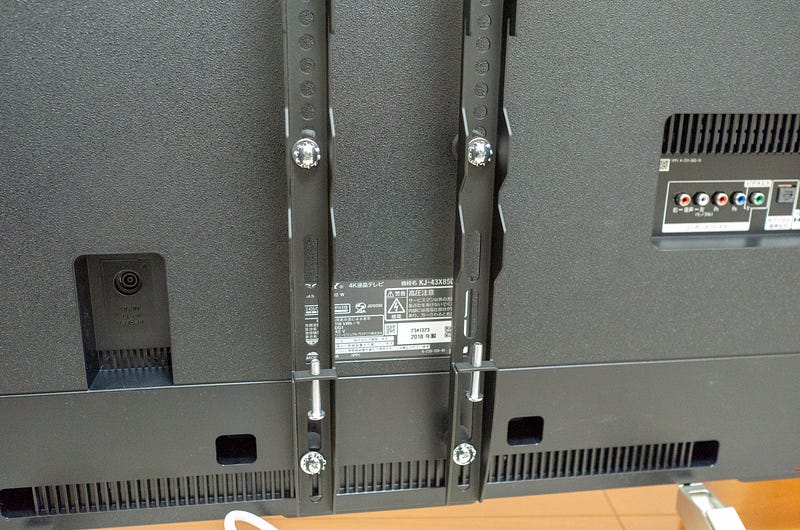
I’ve got a Sony’s Bravia, 43V 4K LC TV. It has screw holes for wall-mounting.
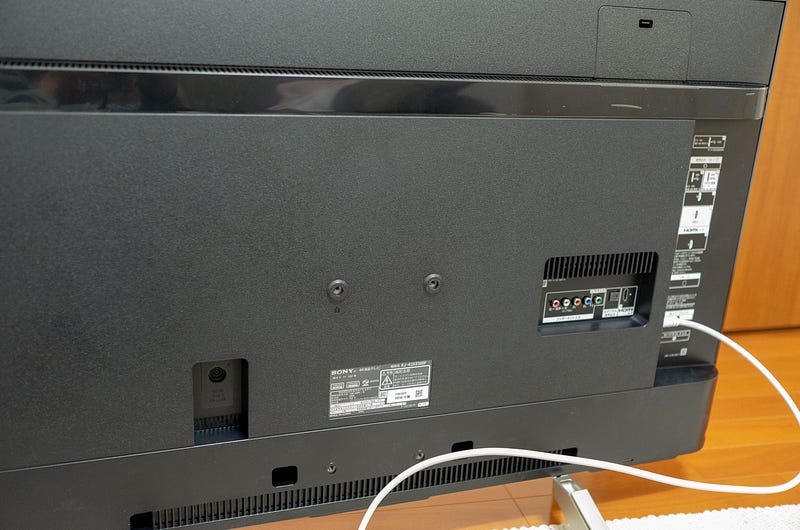
Put a mounting plate to the back of it.
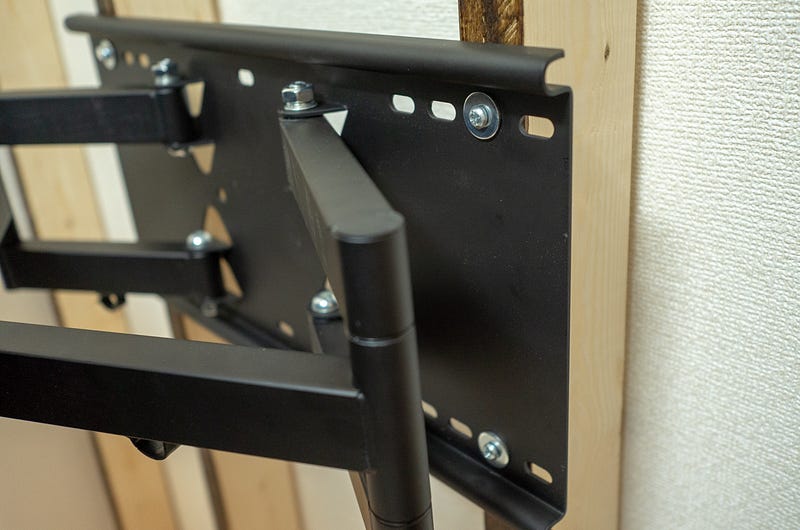
Attached the mount to the pillars. It was heavy..you should do this with two people.
And mounted the TV to the pillars.
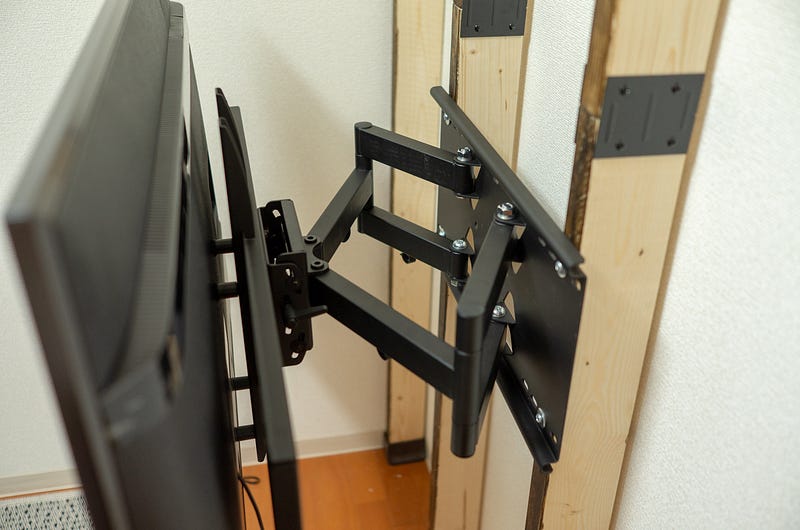

Cool!
Build Wall with Scaffold Boards
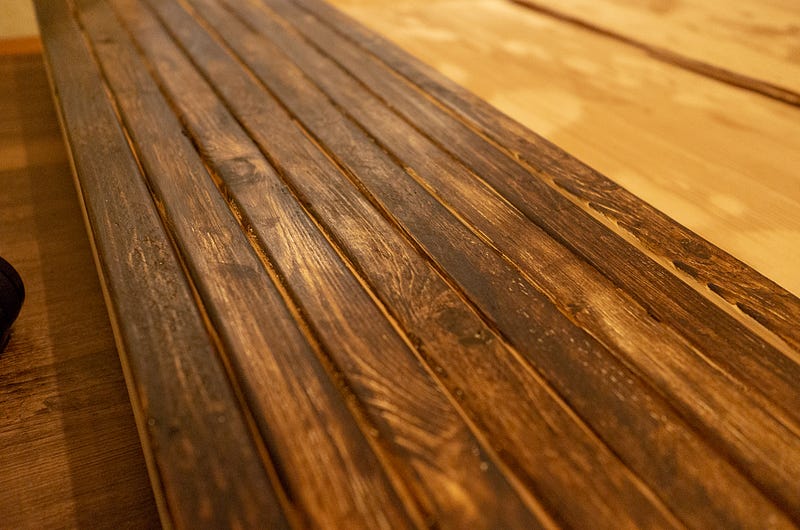
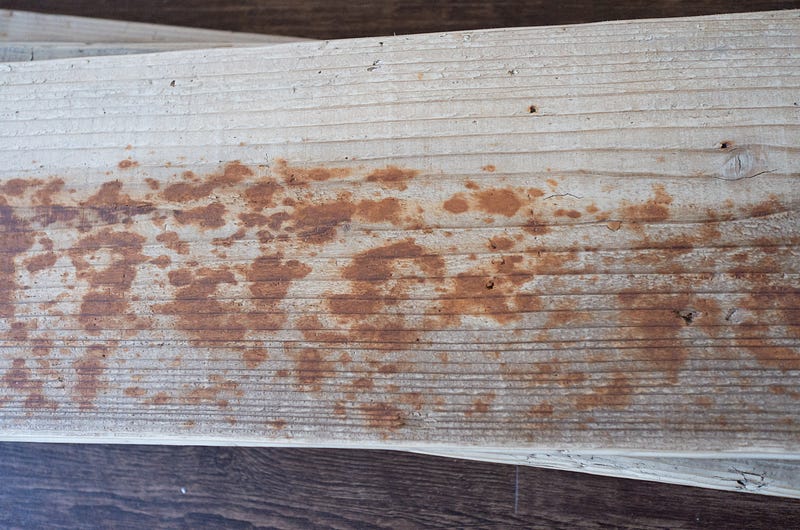
Next step is to build the wooden wall. I bought used scaffold boards because I loved the weathered look of the wood.
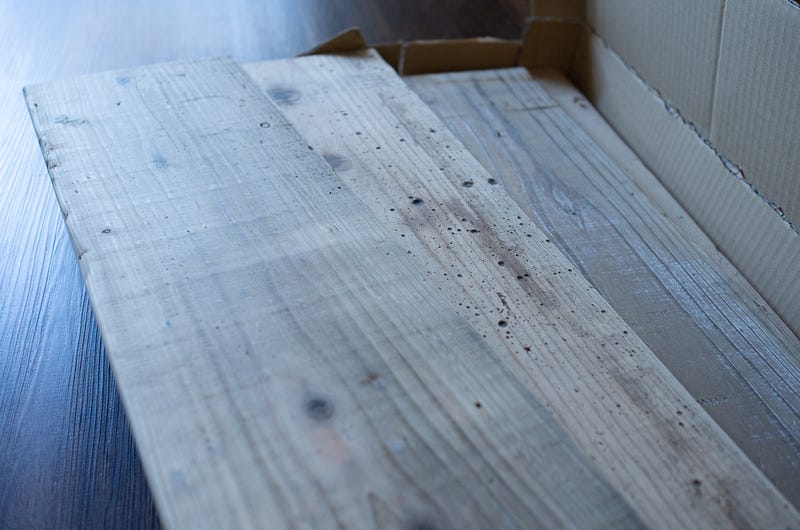
One of the wood was quite stained with some paints but I don’t care.
Stained them all:
Then, installed them to the pillar.


Result
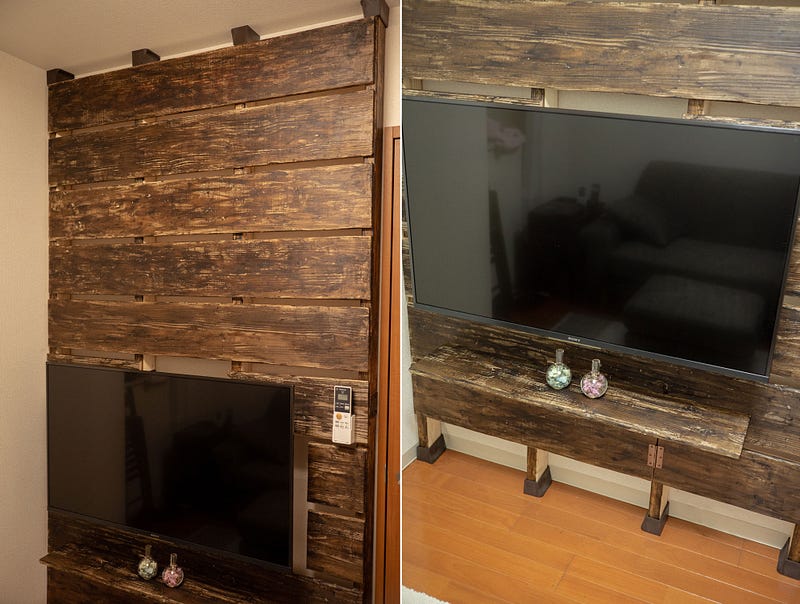
After a few hours of work, I finally got a wooden wall with floating TV. Ta-da!
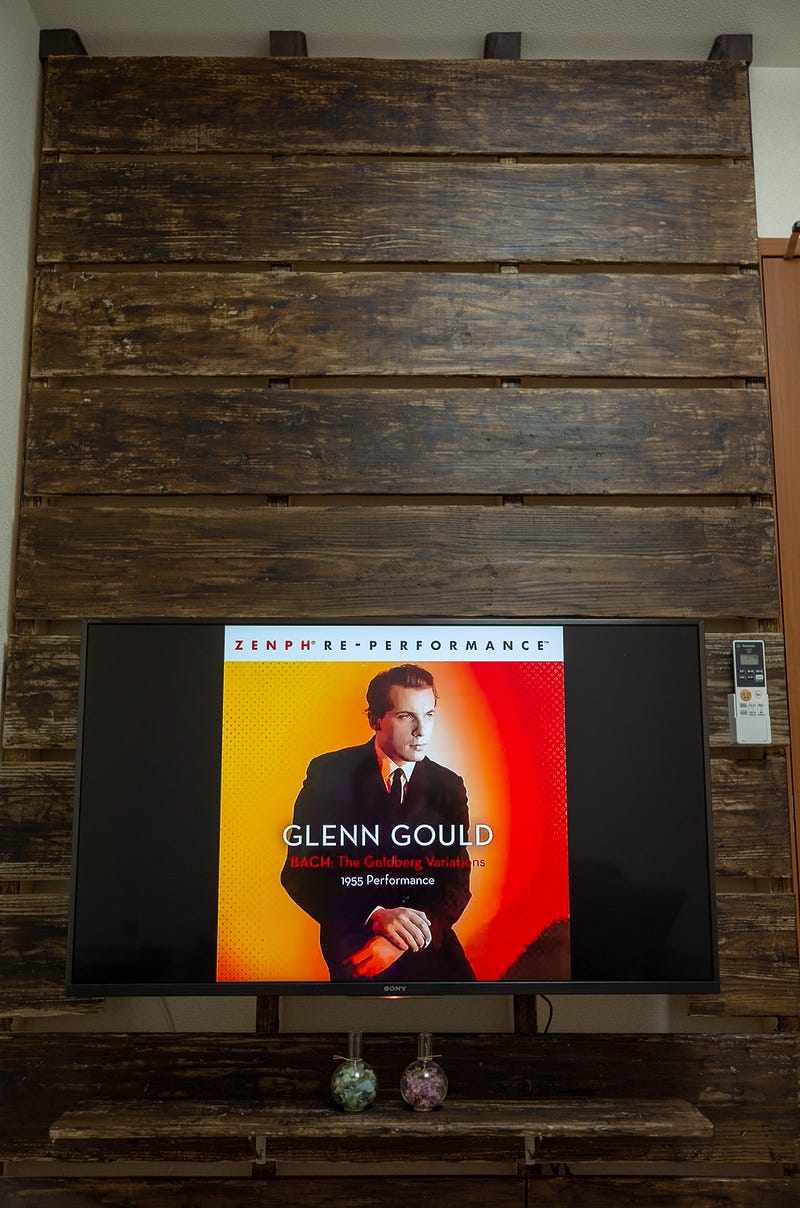

I put dry flowers in front of the TV. It’s cute :)
I hope this post has been helpful for anyone thinking of doing the same.


