How I efficiently built a browser extension

I've released a new browser extension for Inkdrop last week.
The previous version was built several years ago, and the codebase had become outdated.
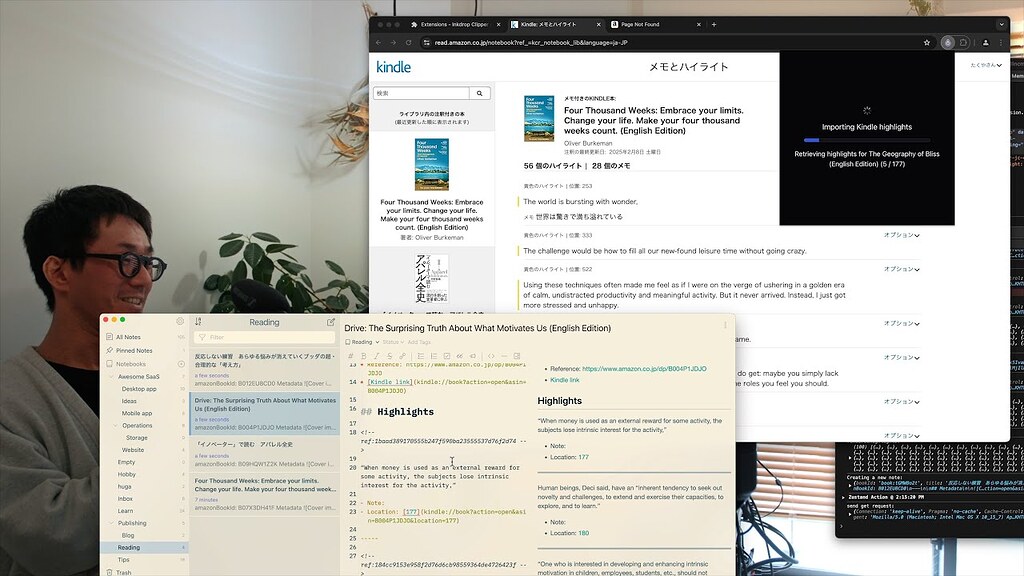
I decided to rebuild it from scratch since I was planning to add a new feature: importing Kindle highlights.
I managed to complete the rebuild in just a week.
I'm 40 but my coding speed is not quite bad I think because I managed to rebuild a browser extension from scratch with a new feature in a week, while preparing for tax report and going buying kindergarten entry supplies for my daughter.
— Takuya 🐾 devaslife (@inkdrop_app) February 14, 2025
Here are some small tips on how to build a browser extension efficiently.
Use Extension.js
Setting up a browser extension project with hot-reloading, TypeScript, bundling, and manifest.json generation is annoying.
While you can clone a popular extension template from GitHub, I decided to try Extension.js this time.

It supports various frameworks like React and Vue, along with TypeScript—looks neat.
You can scaffold a new project with the following command:
npx extension@latest create <your-extension-name>
Then, you are ready to start coding.
It opens up another Chrome window with a development profile when running:
npm run dev
When stopping the dev server, the Chrome window closes automatically.
It even automatically reloads your extension whenever you make changes. Super convenient – I loved it.
manifest.json
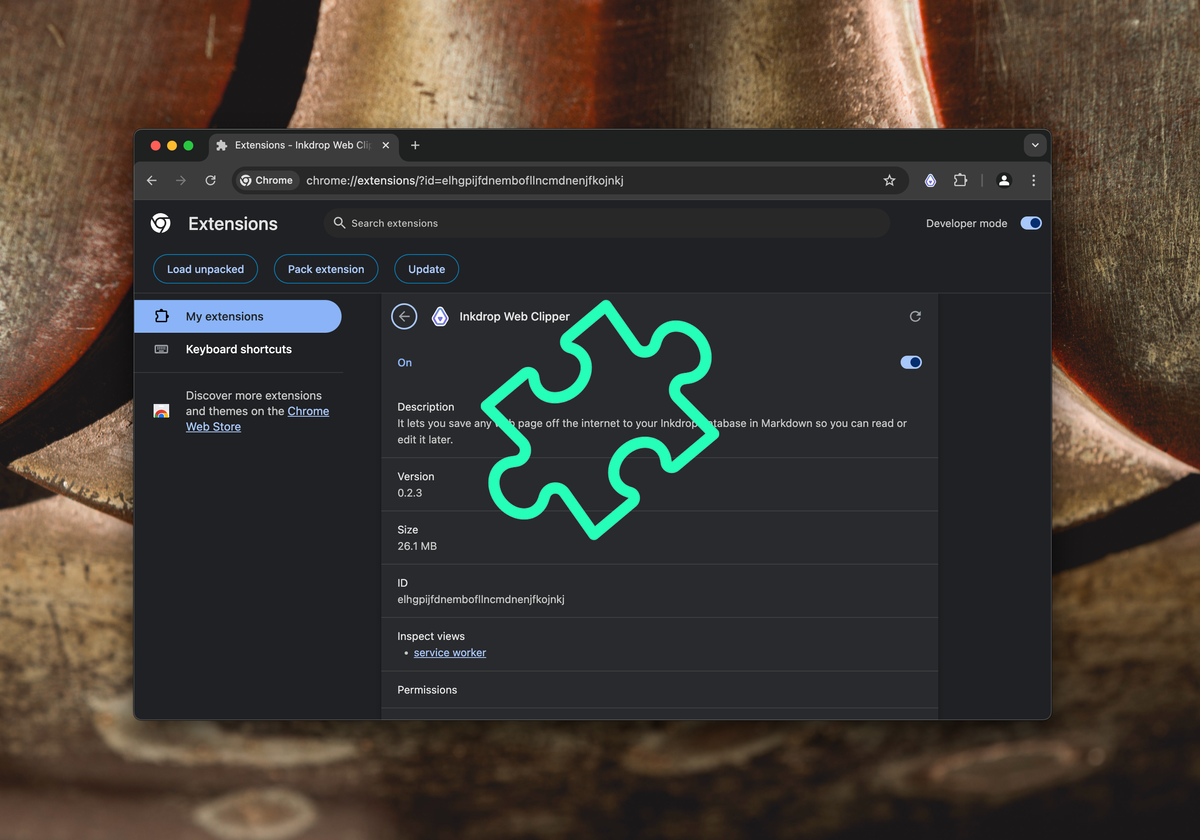
My extension includes a background script (called service worker in manifest v3), a popup window, and an options page.
The manifest.json looks like so:
{
  "$schema": "https://json.schemastore.org/chrome-manifest.json",
  "manifest_version": 3,
  "version": "0.2.3",
  "name": "Inkdrop Web Clipper",
  "description": "It lets you save any web page off the internet to your Inkdrop database in Markdown so you can read or edit it later.",
  "author": "Takuya Matsuyama",
  "icons": {
    "16": "images/icon-16x16.png",
    "48": "images/icon-48x48.png",
    "128": "images/icon-128x128.png"
  },
  "permissions": ["storage", "scripting", "contextMenus"],
  "host_permissions": ["<all_urls>", "http://*/*", "https://*/*"],
  "content_scripts": [
    {
      "matches": ["http://*/*", "https://*/*"],
      "js": ["./src/content/index.ts"]
    }
  ],
  "content_security_policy": {
    "extension_pages": "script-src 'self'; object-src 'self'"
  },
  "action": {
    "default_popup": "./src/action/popup.html"
  },
  "background": {
    "chromium:service_worker": "./src/background/service_worker.ts",
    "firefox:scripts": ["./src/background/service_worker.ts"]
  },
  "options_ui": {
    "page": "./src/options/index.html"
  },
  "browser_specific_settings": {
    "gecko": {
      "id": "t@inkdrop.app",
      "strict_min_version": "109.0"
    }
  }
}
Since Firefox still doesn't support service worker scripts, you have to write the background field like so:
  "background": {
    "chromium:service_worker": "./src/background/service_worker.ts",
    "firefox:scripts": ["./src/background/service_worker.ts"]
  },
When compiling for Firefox, you can run the following command:
extension build --polyfill --browser=firefox
Use Radix UI Themes
I didn't want to spend so long building UI components, so I decided to try Radix UI Themes for the first time.
It turned out it was great.

Here is what my extension's UI looks like:
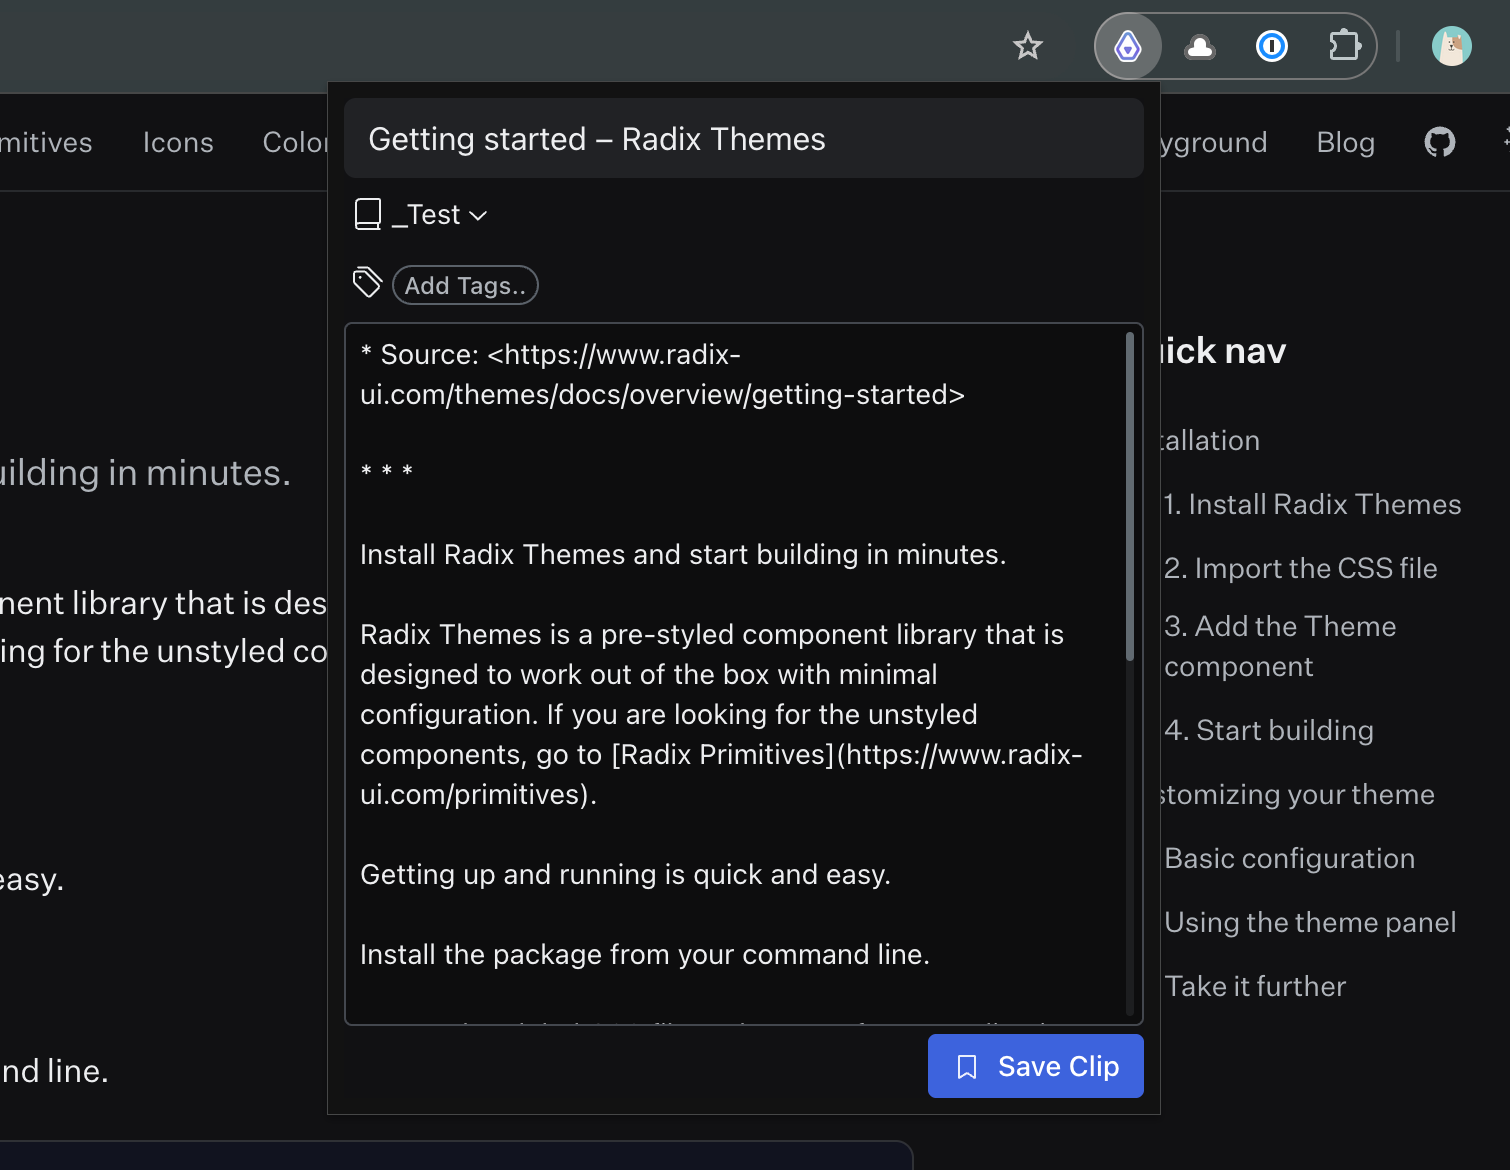
It uses Dropdown Menu to implement these menus:
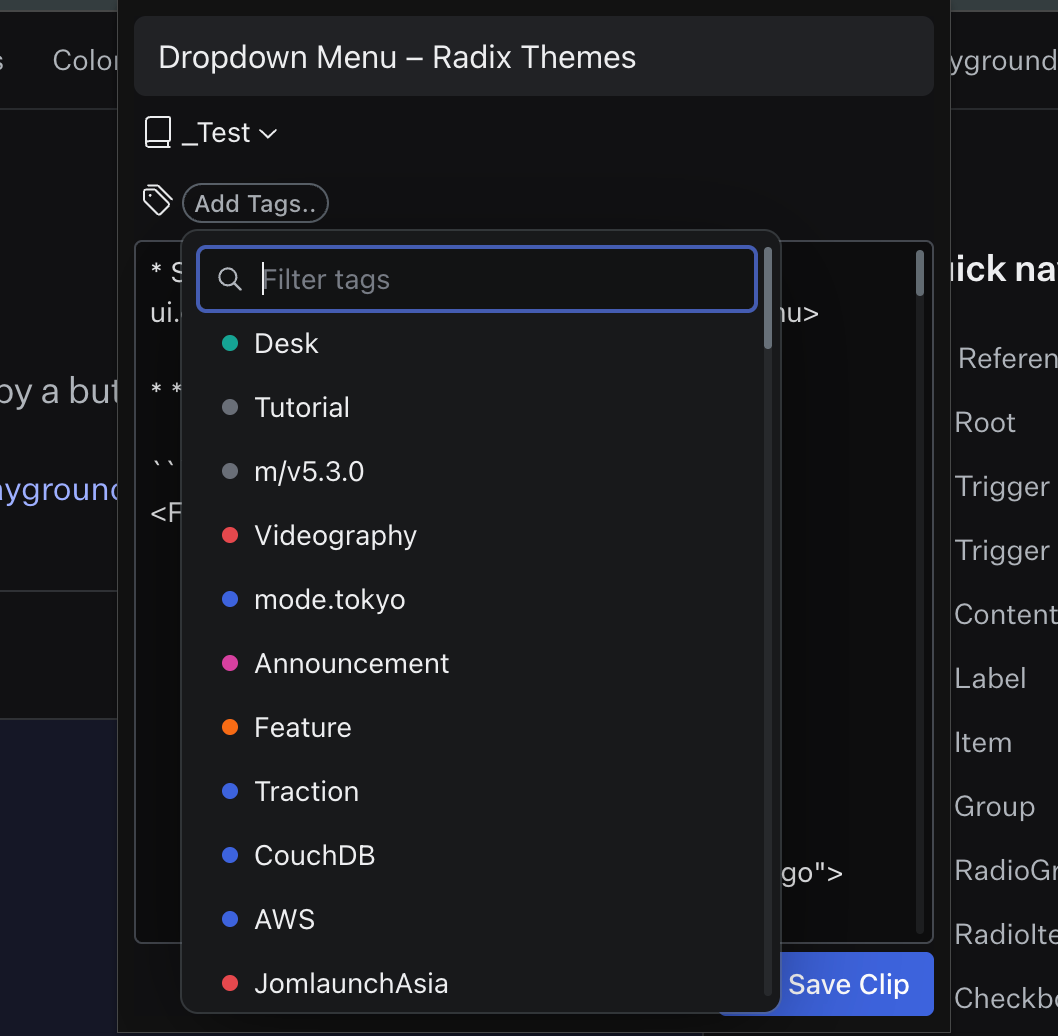
As you can see it has an input bar for filtering items with keyword, which can be accomplished by adding TextField in the first menu like so:
<DropdownMenu.Root>
  <DropdownMenu.Trigger>
    <Badge
      variant="outline"
      color="gray"
      radius="full"
      className="tags-input-bar-trigger"
    >
      Add Tags..
    </Badge>
  </DropdownMenu.Trigger>
  <DropdownMenu.Content>
    <DropdownMenu.Item asChild onClick={e => e.preventDefault()}>
      <TextField.Root
        autoFocus
        placeholder="Filter tags"
        value={filterKeyword}
        onKeyDown={e => e.stopPropagation()}
        onChange={handleKeywordChange}
        style={{ gap: 0 }}
      >
        <TextField.Slot>
          <MagnifyingGlassIcon height="16" width="16" />
        </TextField.Slot>
      </TextField.Root>
    </DropdownMenu.Item>

    {filteredTags.map(tag => (
      <TagsInputMenuItem
        key={tag._id}
        value={tag._id}
        onSelect={handleItemSelect}
      />
    ))}

    {filterKeyword.length > 0 && (
      <DropdownMenu.Item onClick={handleCreateNewTagClick}>
        <PlusCircledIcon />
        New Tag "{filterKeyword}"..
      </DropdownMenu.Item>
    )}
  </DropdownMenu.Content>
</DropdownMenu.Root>
Adding asChild and cancelling the default behavior for click events are important to prevent unexpected behaviors for the input field:
<DropdownMenu.Item asChild onClick={e => e.preventDefault()}>
Compressing source files for Firefox submission
Firefox requires you to provide source code if you are using a bundler like Webpack.
So, I've added a script in my package.json like so:
  "scripts": {
    "gen-source-zip": "zip -r source.zip . -x \".git/*\" \"node_modules/*\" \"dist/*\" \"*.crx\" \"*.pem\" \"Session.vim\""
  }
It compresses files except for some redundant or private files.
I hope these tips are helpful for your browser extension development!